Highlights from the article:
- Pick the tip that’s right for you
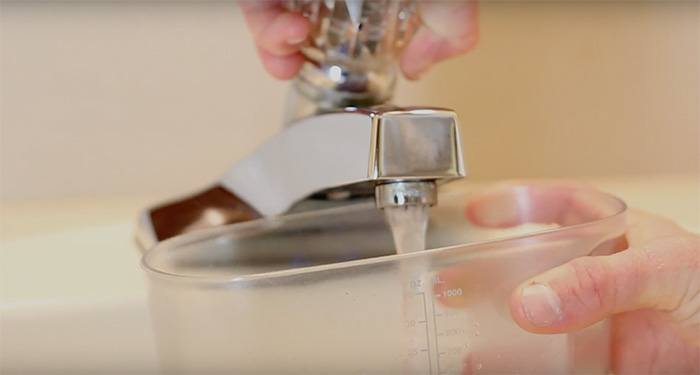
- Fill the reservoir with lukewarm water
- Put the tip into your mouth before turning it on
- Start with the back molars and move forward hitting the fronts of your teeth, top, and bottom, then do the back of your teeth in the same manner
- Turn the Waterpik Classic off when finished and empty any excess water into the sink
- Read the Waterpik Classic Quick Start Guide
- Consider using some best practices for the better results
In this article, I will show a quick demonstration how to use Waterpik Classic. Please note, that you can use these directions to use other Waterpik Water Flossers as well. Remember that the proper use of Waterpik guarantees a healthy and beautiful smile.
Preparation
First, you want to fill the reservoir up with warm water and place it into position.
Next, you want to

Turning on Waterpik
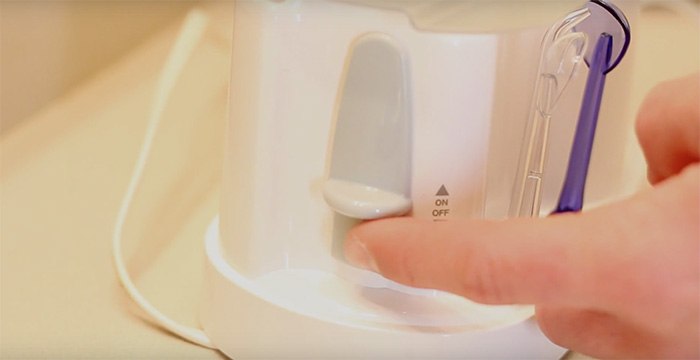
Always remember to have the Waterpik in your mouth before turning it on.
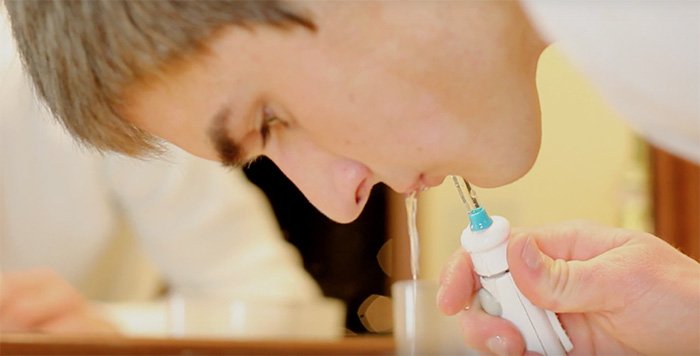
Now bend over the sink with your lips about halfway closed, so the water runs out into the sink. Make sure you start with a low setting and gradually increase the pressure once you become more experienced with your Waterpik.
For the best results, be sure to keep the tip at a 90-degree angle to your teeth and let it run along your gum line, pausing briefly at each space between the teeth(how to use waterpik, dentists recommendation.)
Waterpik recommends starting with your back molar, and clean the fronts, top, and bottom and do the same for the back.
Finish
When you’re all done, just empty any excess water from the reservoir into the sink and you are done.
The whole process only takes about a minute. So even those under time constraints can easily reap the benefits of a cleaner, healthier, beautiful smile.
If you have any further questions, be sure to check out the user’s manual included with your purchase.
Best practices to consider
See the full dentists Waterpik maintenance guide.
- Purge your Waterpik before and after use. Just run your Waterpik without water, so it cleans and dries itself.
- Place reservoir into the rotated position when finished. Reservoir in the rotated position allows the contact points between the base and the reservoir to be exposed. The air circulation will be drying your Waterpik and killing any bacteria.
- Add mouthwash to the reservoir. Mouthwash improves the cleaning effect and also makes your mouth feel fresh.
- Make sure to run some vinegar through your Waterpik every month.
Conclusion
It is important to use your Waterpik Classic properly. These directions will help you to get the most for your smile and health. They are easy to use. I wish you all the best and always have a healthy white smile.

Alex
Hello, my name is Alex. Hope you can like and share this content. Thank you so much!